Introduction
Raspberry Pi
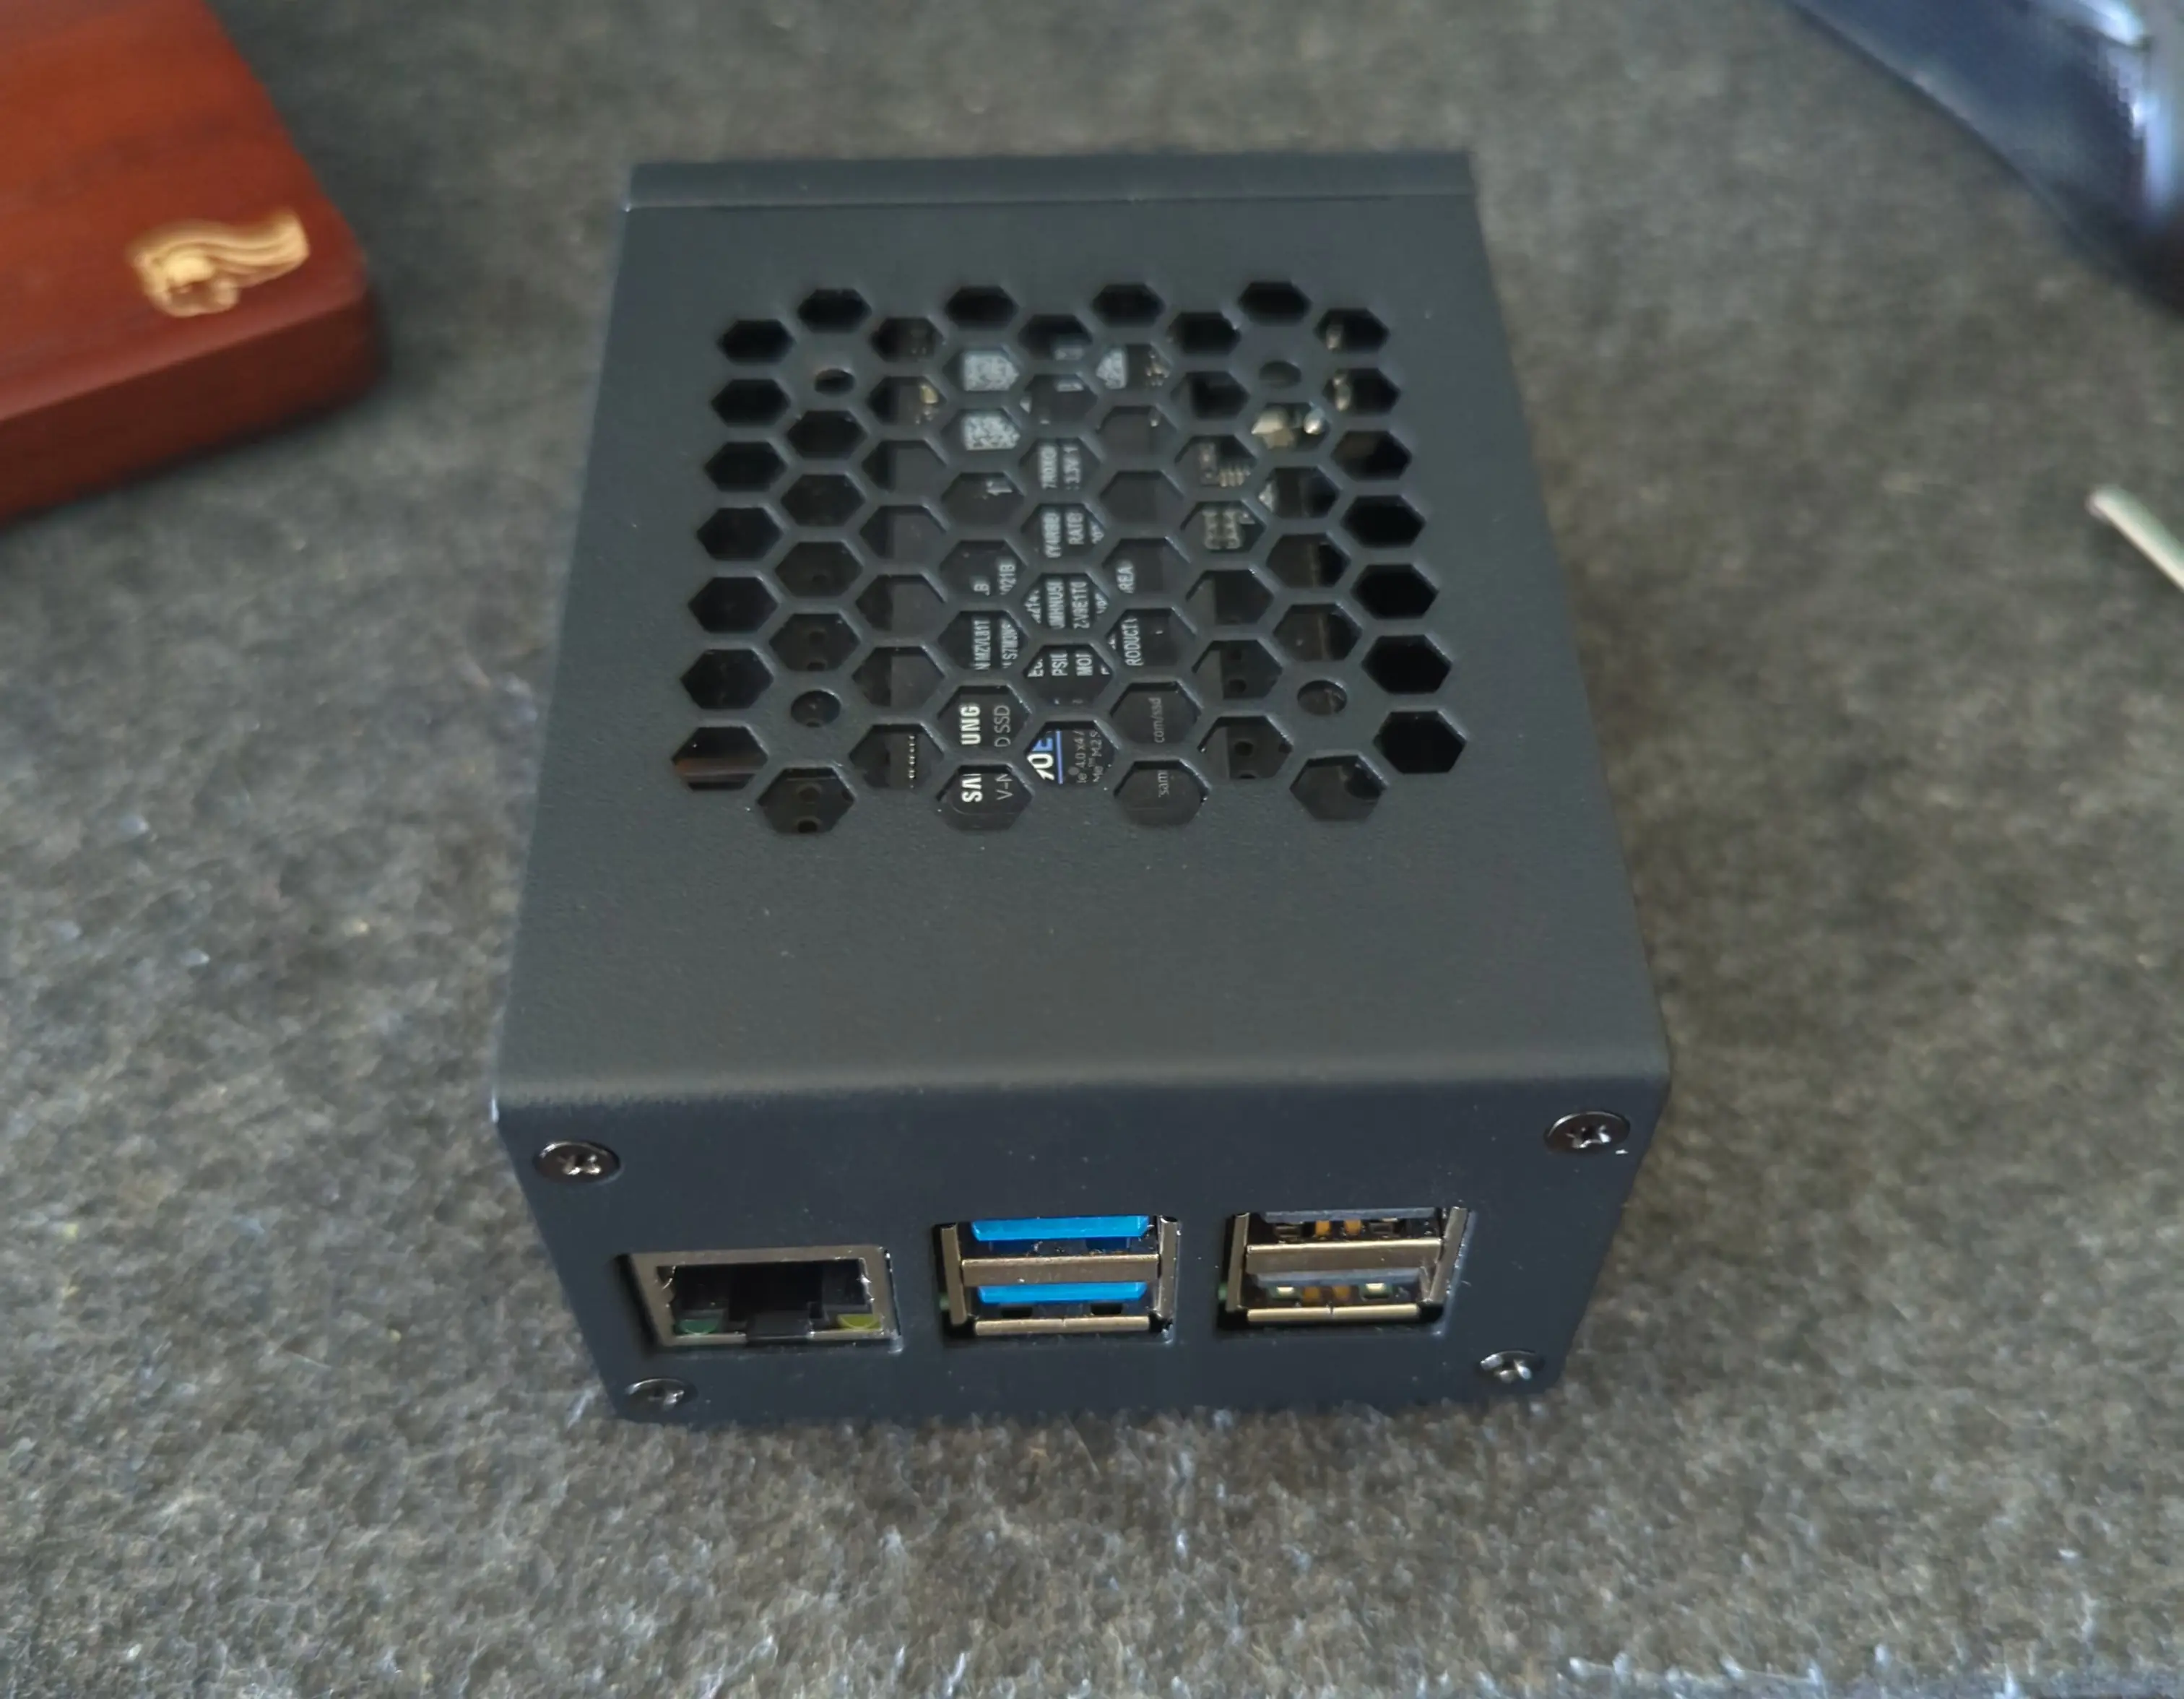
Here is my Raspberry Pi 5, which is a small form factor Linux computer, running Raspberry Pi OS and Docker. It has been outfitted with an NVME SSD attached via the expandable PCI-E bus. It has 8GB of RAM and 1TB of fast storage.
I use this as a tiny web server that I can take anywhere I go.
It normally sits in one place for a long time. But sometimes it needs to be picked up and installed in a new place. I need it to be able to get the network up, have it resume all of its previous functions, and even use the same IP address as before. Traveling with this device should be a plug and play experience, with minimal disruption to the clients that expect this server to be online and available. No matter what kind of Internet connection it has, it should be quick to get this server back online.
To follow this book, you don’t necessarily require a Raspberry Pi. You can replace it with any Linux computer or virtual machine (AMD64 or ARM64). The instructions provided for installing the required packages assumes your machine to be running a variant of Debian Linux (such as Debian, Raspberry Pi OS, Ubuntu, etc.), but this is not a requirement either, as long as your platform supports Docker, and you can follow the manual installation steps.
Sentry Droplet
To accomplish this feat, we need to set up another server (to be named
sentry) that has a static IP address and is accessible from the
public Internet. I use a DigitalOcean Droplet (affiliate link helps
support this book), which is a type of Virtual Private Server (VPS)
and exists in the public cloud. The sentry is always on and anyone in
the world can connect to it (via HTTP). However, the sentry does not
serve any applications by itself; it only creates the public Traefik
proxy (ingress), which forwards incoming connections through a backdoor
VPN connection to the Raspberry Pi. The Pi automatically initiates
this connection to the sentry whenever it boots and comes online.
graph TD;
    Web1[Web browser] -->|Internet| Sentry[Public Sentry]
    Web2[curl] -->|Internet| Sentry
    SFTP[SFTP client] -->|Internet| Sentry
    Sentry <---->|WireGuard VPN| C[Raspberry Pi]
WireGuard VPN
The Raspberry Pi should use whatever kind of Internet connection you plug the ethernet into (or you may configure Wi-Fi); it will therfore have only a dynamic IP address initially. Once it’s online, it creates an outbound VPN connection to the sentry via WireGuard. Once connected to the VPN, the Pi is assigned a static private IP address that only the sentry can communicate with.
The sentry will forward incoming connections from the Internet to the Raspberry Pi over the WireGuard VPN connection. Traefik is used on both the sentry and Raspberry Pi to create the full public route to each of your services. Traefik supports the following types of routes:
- HTTP Layer 7 - Routes an incoming HTTP(s) request, which is a
domain name (or TLS SNI), including optional HTTP path, over TCP
port
443to a backend HTTP server based on these criteria. This is the most common routing method used for publishing web apps. - TCP Layer 4 (no TLS inspection) - Routes a unique TCP ADDRESS:PORT combination to a unique backend ADDRESS:PORT combination. This is the second most common method, used for publishing non-HTTP services (e.g., SSH).
- TCP Layer 4/7 (TLS-enabled) - TODO - unimplemented, but routes a TLS encrypted TCP layer 4 connection based upon the domain name (by inspecting the unencrypted TLS SNI header) to a backend ADDRESS:PORT combination.
- UDP Layer 4 - TODO - unimplemented, but similar to non-TLS TCP.
Traefik can create a public route for virtually any service on your Raspberry Pi, whether it’s sitting at your desk or at an impromptu getaway location.
d.rymcg.tech

d.rymcg.tech is a configuration manager for Docker, as well as a collection of open source web services and config templates. It contains an extensive configuration wizard for Traefik and an idiomatic command line tool, which makes Docker Compose projects both easy to document and use.
The dual roles of the Raspberry Pi
Traditionally, you would install d.rymcg.tech on a separate workstation and never actually log in to your Docker server, but rather exclusively control it remotely from your workstation. This is one of the ways to follow the good DevOps practice summed up by the metaphor:
“Treat your infrastructure like cattle, not like pets.”
However, the cattle ranching strategy has the drawback that if you
lose access to your workstation, it’s diffcult to administer the
remaining server (you would have to recreate your .env files on a
new workstation, from backup, or from scratch).
To avoid this complexity and make it easier to maintain after long periods of inactivity and forgetfulness, we will make an important compromise and an exception to the normal DevOps rule:
In this book, the configuration tools (d.rymcg.tech) will be installed to the same server that runs Docker, rather than the usual recomendation to do so on a separate workstation. Co-mingling the roles of server and workstation on the Pi means you’ll have everything together in one little box and it will make everything easier to get (re)acquainted with.
Treat your portable Pi as a pet Docker server (not cattle). You must name it and interact with it directly via SSH console.
If you read any other d.rymcg.tech documentation and it references
“your workstation,” you should use the pi user on the Raspberry Pi,
not your personal workstation.
If you had a whole fleet of Raspberry Pis to manage, this would be a terrible idea, because you would be missing the centralized (cattle ranching) workstation to control all of them, and you’d have to log in to each one individually and configure them directly. However, you will likely start this journey with only one Pi to manage, so treating it as a pet is a good initial compromise to make. If you want to build a proper workstation that can control several servers from one location, read the Linux Workstation book and the main d.rymcg.tech README.
If you are going to travel frequently with this device, you should consider installing full disk encryption and requiring remote SSH unlock on boot, but this is an advanced topic that is outside the scope of this book.
Your personal workstation
Unless you want to carry a display and keyboard to plug into the Raspberry Pi, you’re still going to need to travel with another computer (e.g., a laptop) and set that up with an SSH key so you can remotely log in to the Pi.
You can use any sort of personal computer, as long as it’s capable of running a terminal and an SSH client. If it runs Linux, MacOS, or Windows, you’ll also be able to use this computer to run the rpi-imager application for preparing the SD card. Most Linux distros have this available in their package manager.
If you don’t yet have an SSH key on your personal computer, the Linux Workstation book has a chapter about SSH, covering both traditional SSH keys and agents, as well as the open hardware security token Solokey.
Editing files on the Pi
Eventually you might need to edit a .env file by hand, and so you
need to know how to edit files remotely over SSH. You have a few
different options:
- Learn how to use one of the many terminal mode text editors (e.g., Emacs, Vim, Nano, etc.) and edit the files through an SSH console directly on the Pi. This is the most secure option, as the files never leave the Pi.
- Edit the files directly on your personal workstation and set up your editor so that it saves files transparently over SSH. Example configurations include Emacs’ TRAMP, VS Code’s Remote SSH, or Vim’s Netrw. For a universal solution that works with any editor, use sshfs.
- Edit the files directly on your personal workstation and use synchronization tools like rclone, rsync, dropbox etc, however this method is the least secure because it leaves several copies of the files outside of the Pi itself, and important secrets may be leaked as a result.
Next steps
- Set up DNS.
- Set up Raspberry Pi.
- Set up sentry Droplet.
- Configure WireGuard VPN.
- Set up public SSH.
- Install core services.
- Install apps.