Build your Raspberry Pi
These are the parts you will need to source for this build (purchase price ~$240 USD):
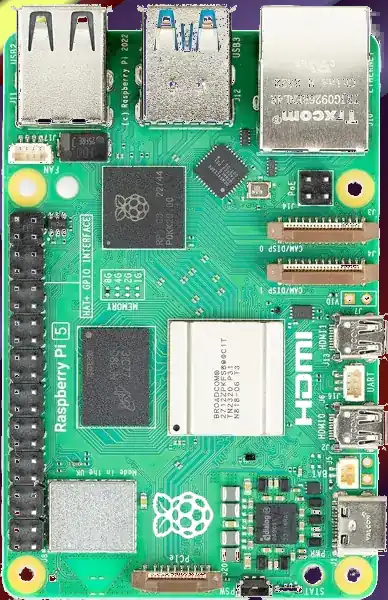
The Raspberry Pi 5 is often sold in kits, but you can also buy the motherboard separately. If buying a pre-made kit, make sure it includes an NVME shield to plug in an NVME SSD. Otherwise, this can be purchased separately:
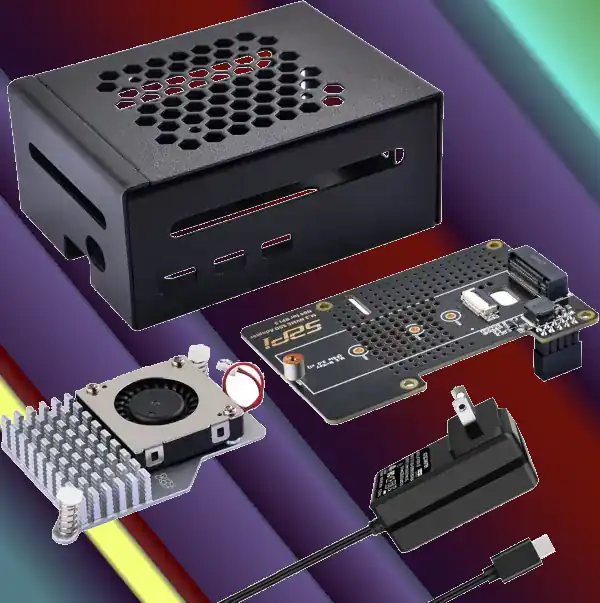
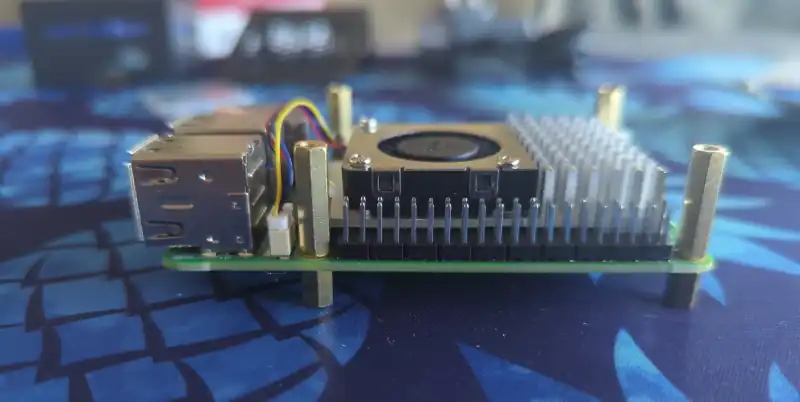
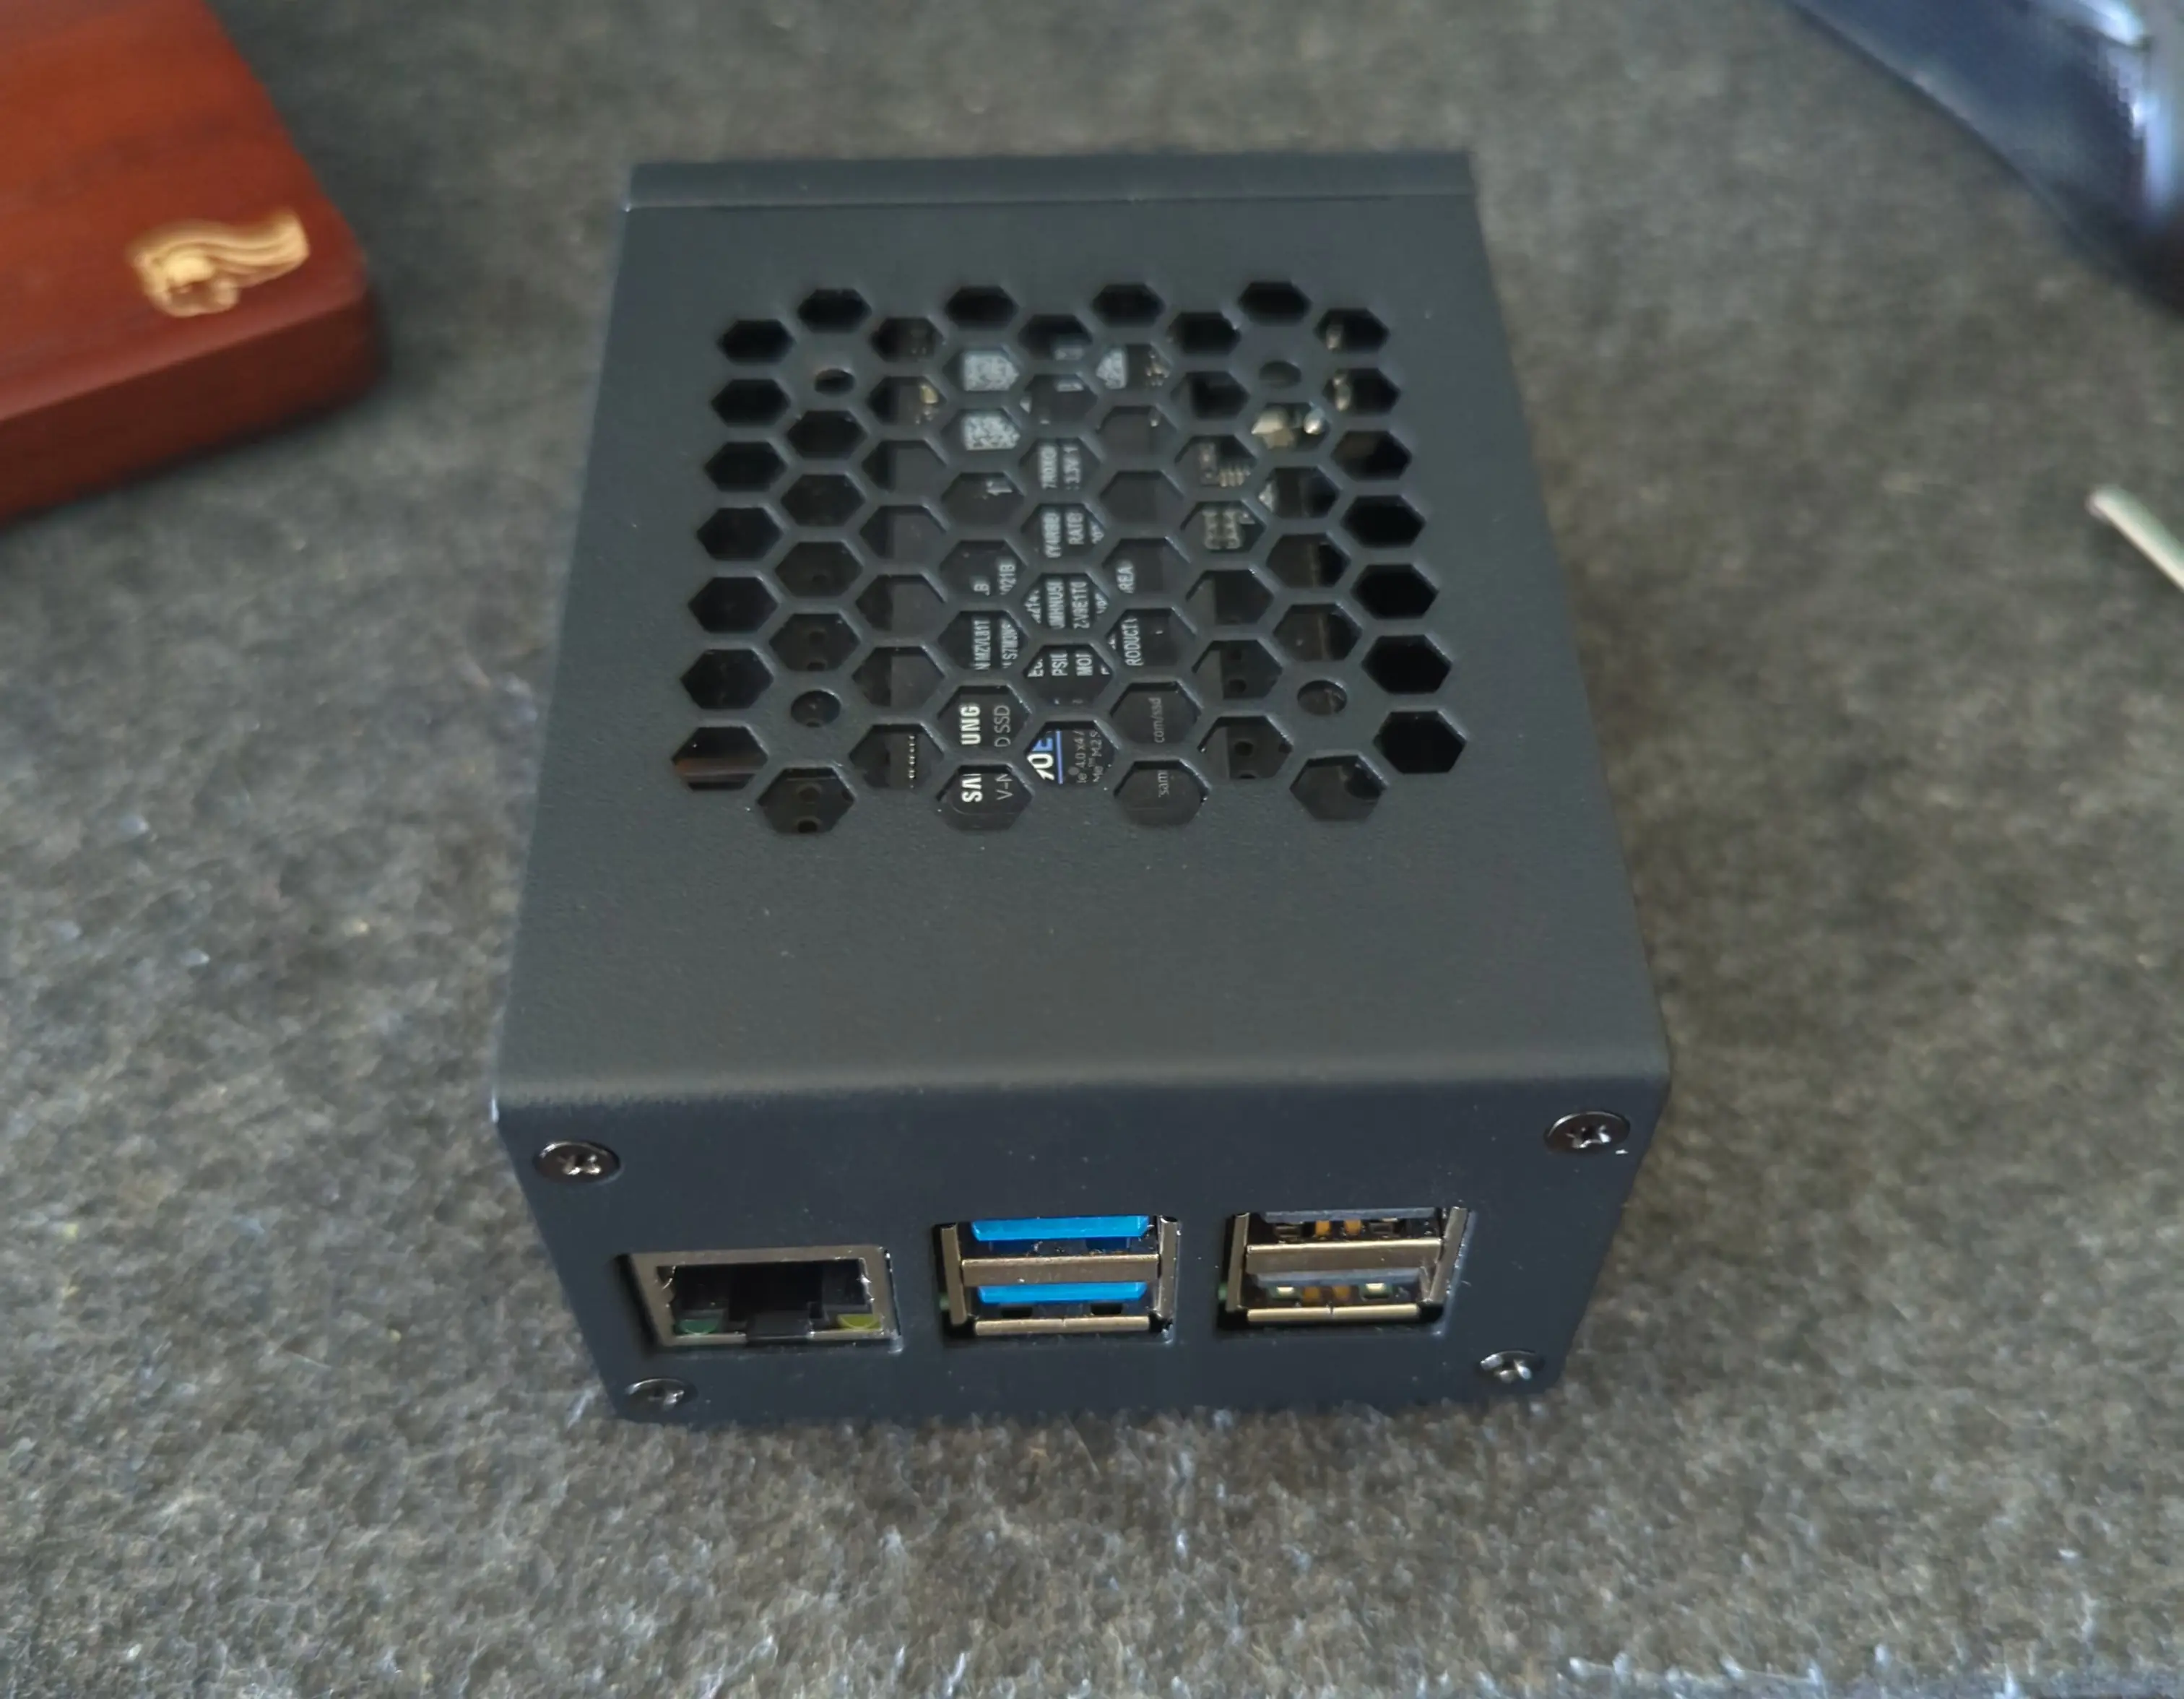
This kit comes with the NVME shield, which is an adapter (hat) to install on top of the Raspberry Pi 5 motherboard. This allows you to plug in a full size NVME SSD into the Raspberry Pi’s PCI-E bus. The metal case fits the extended height neccessary to fit the NVME shield and SSD inside. The kit also includes the required heatsink for the motherboard, a power supply, and the flat ribbon cable (not shown) that connects the shield to the motherboard’s PCI-E port.
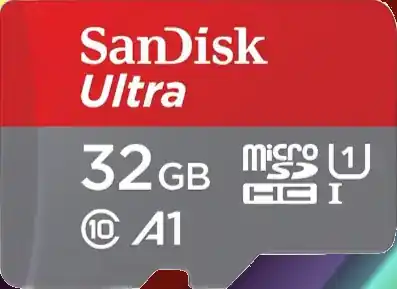
The SD card is used as the root filesystem for Raspberry Pi OS (formerly named Raspbian). The capacity of the card doesn’t need to be very big, as you won’t be storing very much data on this.
Booting from the SD card is a bit slower than NVME, but the advantage of it is that you can simply swap SD cards, and temporarily use the pi for a different purpose, all without disrupting access to your NVME storage.
SD cards are more prone to failure than NVME, especially if you write
too much data to them, so this is minimized as much as possible.
/tmp will be mounted on tmpfs, and /var/log will run on log2ram,
which are both stored in RAM, so the only writes that should happen on
the SD card should be OS updates.

The micro SD card comes with a full size SD card adapter, but you may also need a USB adapter, in order to write the image.
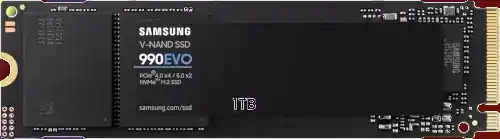
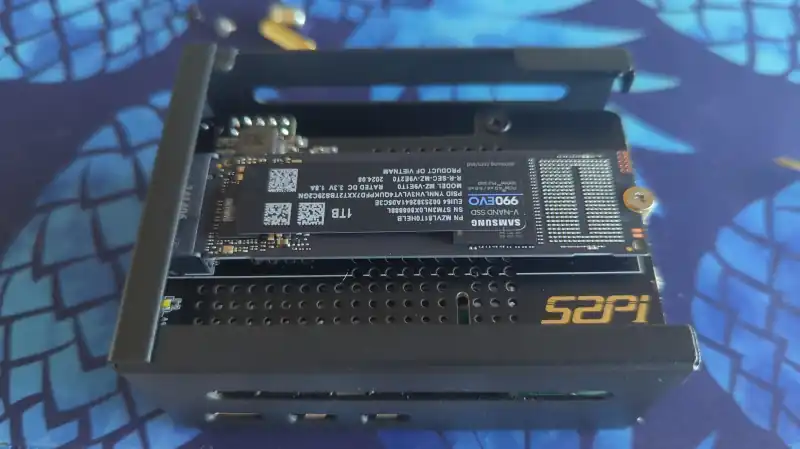
The NVME SSD is much faster, and far more reliable, than the SD card.
This device will be used exclusively for the Docker storage system
(mounted at /var/lib/docker). This is where all of your container
images will be built/downloaded, and where the volumes holding your
app data will live.
You should purchase separately a heatsink to go on the top of your NVME drive. There is a little bit of room left in the case to fit a slim one (the one I installed is 3mm tall). This is not essential, but it is recommended if you make use of heavy I/O, as it will increase the life expectancy of the SSD.
Putting everything together
- Read the directions that come with the Geeekpi / 52Pi case, the rest of this list is just a summary.
- Install the heatsink to the Pi 5 motherboard.
- Attach one end of the ribbon cable to the PCI-E port and lock it into place. The blue side of the ribbon cable should be facing outward.
- Attach the other end of the ribbon cable to the NVME shield and lock it into place.
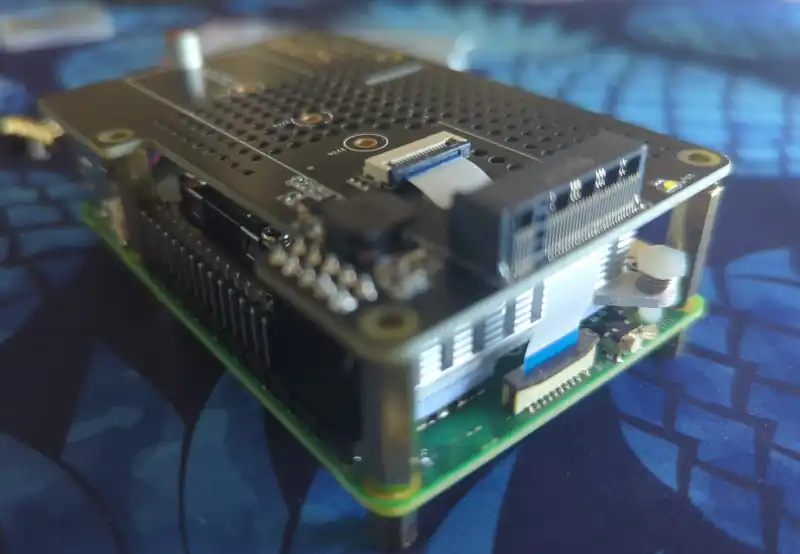
- Install the NVME shield on top of the Pi motherboard, plugging into the GPIO ports, and using the taller risers to sandwich things together.
- Install the motherboard into the bottom part of the case, using the smaller risers to support the motherboard from below.
- Install the NVME SSD into the NVME shield.
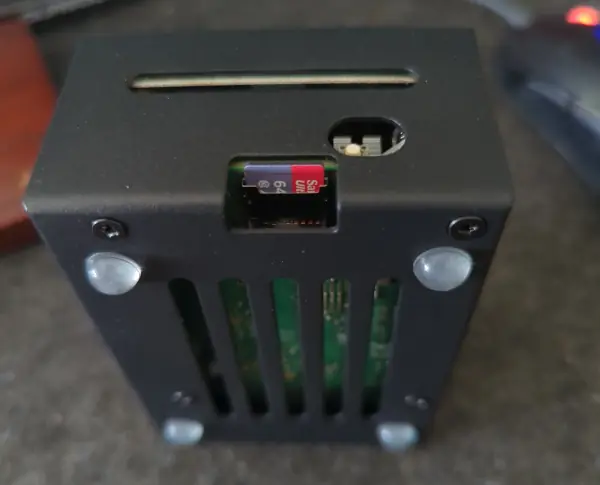
- Screw on the top part of the case.
- Install the SD card into the slot on the bottom edge.